How to install a Rain Shower Head & Handheld shower
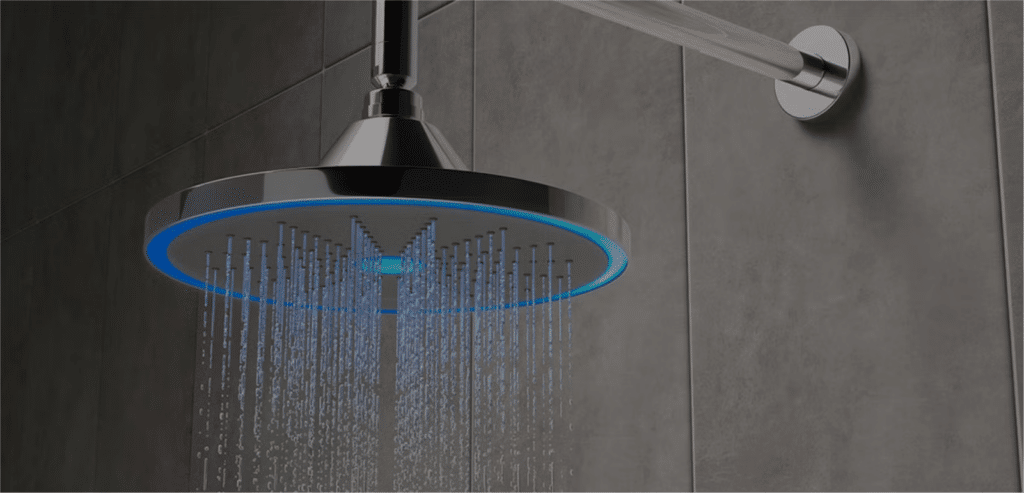
Whether you call it a rain shower head or waterfall showerhead or even an overhead shower system, it’s all the same. The name basically came from the refreshment we enjoy when we’re out in the open when it’s raining. Or when we go underneath a waterfall and feel its gentle yet firm pressure.
We love it so much that we eventually made it a part of our daily life. So today, we’re going to talk about how to install a rain shower head. It’s not that difficult to install a rain shower head, if you have the will to try.
Generally, it’s easier to install while building a new bathroom, but don’t worry if you already have one and want to replace with railfall shower head; Stick to the article. You’ll figure out how this happen.

Things You’ll Need to Install Waterfall Shower Head
If you’re building a new bathroom then you probably have a plumber to do it for you. But you just want to replace your old shower head with a rain shower head and wish to do it on your own then you’re going to need some stuff mentioned below.
- New Rain Shower head.
- Wrench.
- Rubber sealing washer.
- A strong high chair (depending on how high your current shower head is.)
- Thread seal tape.
- Safety goggles.
How to install a rain showerhead
Now, we have all the elements that we need, let’s directly jump into installing the new rain shower head. Put on your safety goggles and set your chair on the correct position and let’s get started.
Step 1 – Take your old shower head out
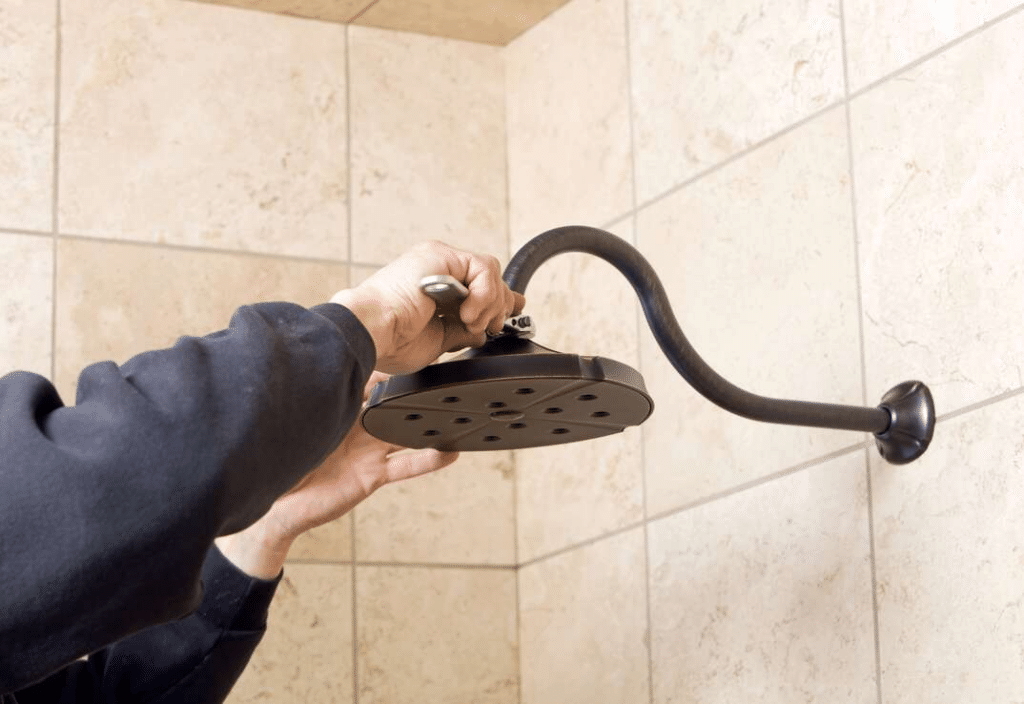
If you’ve never done this before thinking either it’s too hard or you’re going to mess things up, then don’t worry. Most shower heads are just hand-tightened. This means you should be able to take them out without any tools. So just try to rotate your old shower head counterclockwise. Is it not coming off? Then use the wrench and gently rotate. It should be coming off easily.
Step 2 – Inspect the shower arm
After you are done removing the old shower head, inspect the shower arm carefully. If you’ve never had your shower head or shower arm cleaned before, then there might be some debris there. Clean the debris and completely remove all the old thread seal tape. If you don’t remove the older thread seal tape, you might experience leakage afterwards.
Step 3 – Add new thread seal tape
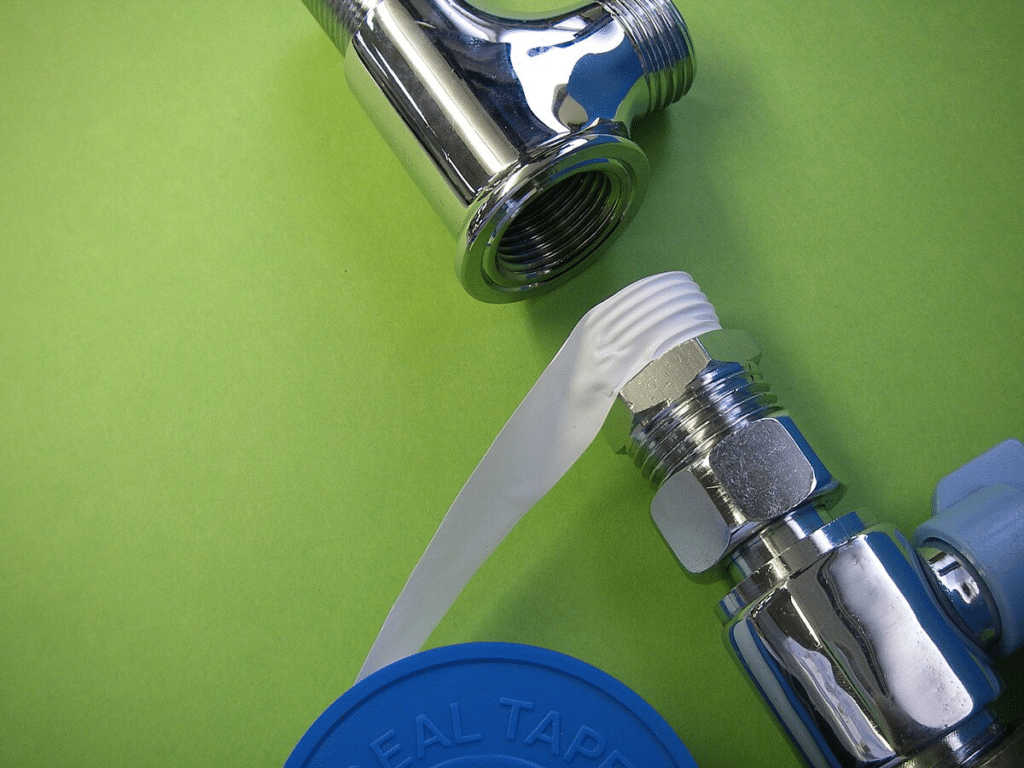
After you remove the old thread seal tape, clean the shower arm properly. You can use some microfiber cloths to do the cleaning. Now add enough new thread seal tape to level it with the surface of the shower arm. While adding the new thread seal, make sure you’re doing it clockwise. If you do it counterclockwise it will come off when you rotate the shower head on it.
Step 4 – Attach your new rain shower head
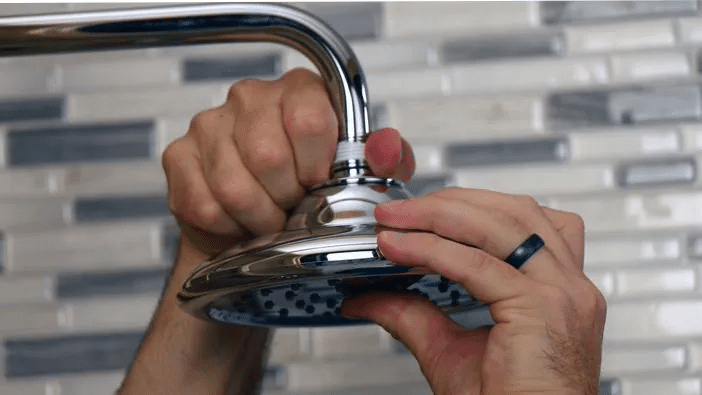
After you’re done adding enough thread seal tape it’s time to attach your new rain shower head. In the “things you’ll need” section of this article we mentioned a tool called rubber sealing washer. This is where this particular tool comes in handy. Rubber sealing washer keeps your shower head watertight. It also strengthens the tightness between itself and the thread seal tape. This drastically reduces the chances of any possible leakage. Just be sure to place it right before the installation.
Once you place it right, tighten the new rain shower head. You can simply hand-tighten it. If the shower arm is too high for you, use a chair or home usable ladder to make things simpler and safer for you.
Step 5 – Tighten the shower head
After primarily attaching the new shower head, now you only need to tighten the shower head with an adjustable wrench. Do this gently and follow two simple instructions here.
- Use a towel or cherry clothe between the tooth of the wrench and the shower head. This will keep your new shower head from getting any possible scratches.
- DO NOT over-tighten the shower head. Once you screw it in, it won’t come off, so don’t over-tighten. When you unscrew the shower head next time, it will be easier.
And it’s done…
There, it’s done. Congratulations! You have installed a rainfall shower head. Give yourself a round of applause. Now it’s time for the test. Check if there’s any leakage. There shouldn’t be any. But if there’s any leakage, then open up the shower head and add some more thread seal tape. And check if you’ve placed the rubber sealing washer in the correct position.
Now just clean up everything.
Things you should keep in mind before installing a rain shower head
If you’re not completely sure about which rain showerhead to buy and how to do it, then these are some important aspects you should be aware of before you make a decision.
- Size: Rain shower heads are mainly made to give you a rain-like feeling inside your bathroom. Size is very important for that. You have to choose what size you want. The diameter of a rain shower head generally varies from 6-12 inches. Also check if your preferred size matches your existing shower arm.
- Height: Height is another important aspect regarding the installation of a rain shower head. Do you want it right over your head? Do you want it on the ceiling? Do you want it positioned right where your old shower head was? If you’re decorating your bathroom freshly then it’s an easy decision to make and somewhat easier to even execute. But if you’re redecorating, it can be a little tricky. For instance, if you want the water to come from right over your head but don’t want to install the rain shower head directly onto the ceiling, then you can use a long shower arm.
- Water pressure: This is where things get a little trickier for most people. Especially if you live in an area where the water pressure is low, but you like a steady water flow. Still, you can buy a rain shower head that is specially made for low water pressure areas.
- Material: Make sure you buy a metal shower head with stainless steel coating. It might cost a little more, but they last way longer. Also the metal shower heads don’t get dirty very often.
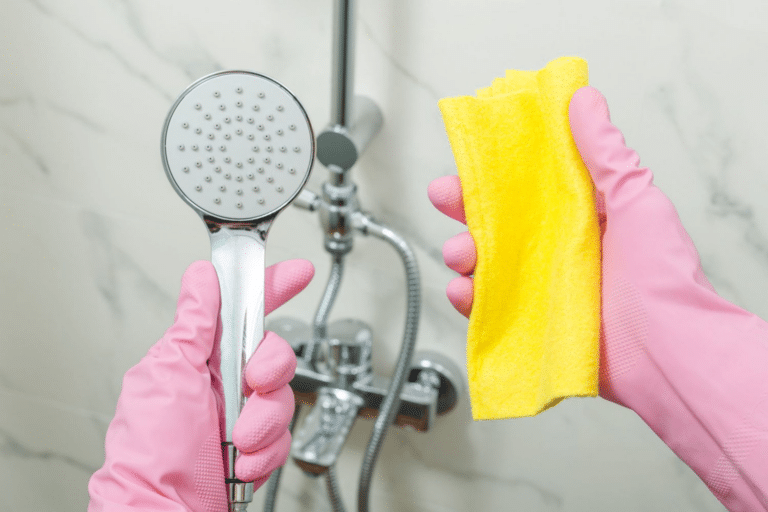
A word of advice
Do you keep your shower head clean? If it’s a shocking question for you then don’t worry. You’re not the only one. Not all the people know about the necessity of keeping the shower heads clean. Just like everything else, shower heads also get dirty. But don’t worry; you don’t have to clean them every week or month! Once or twice a year is just enough.
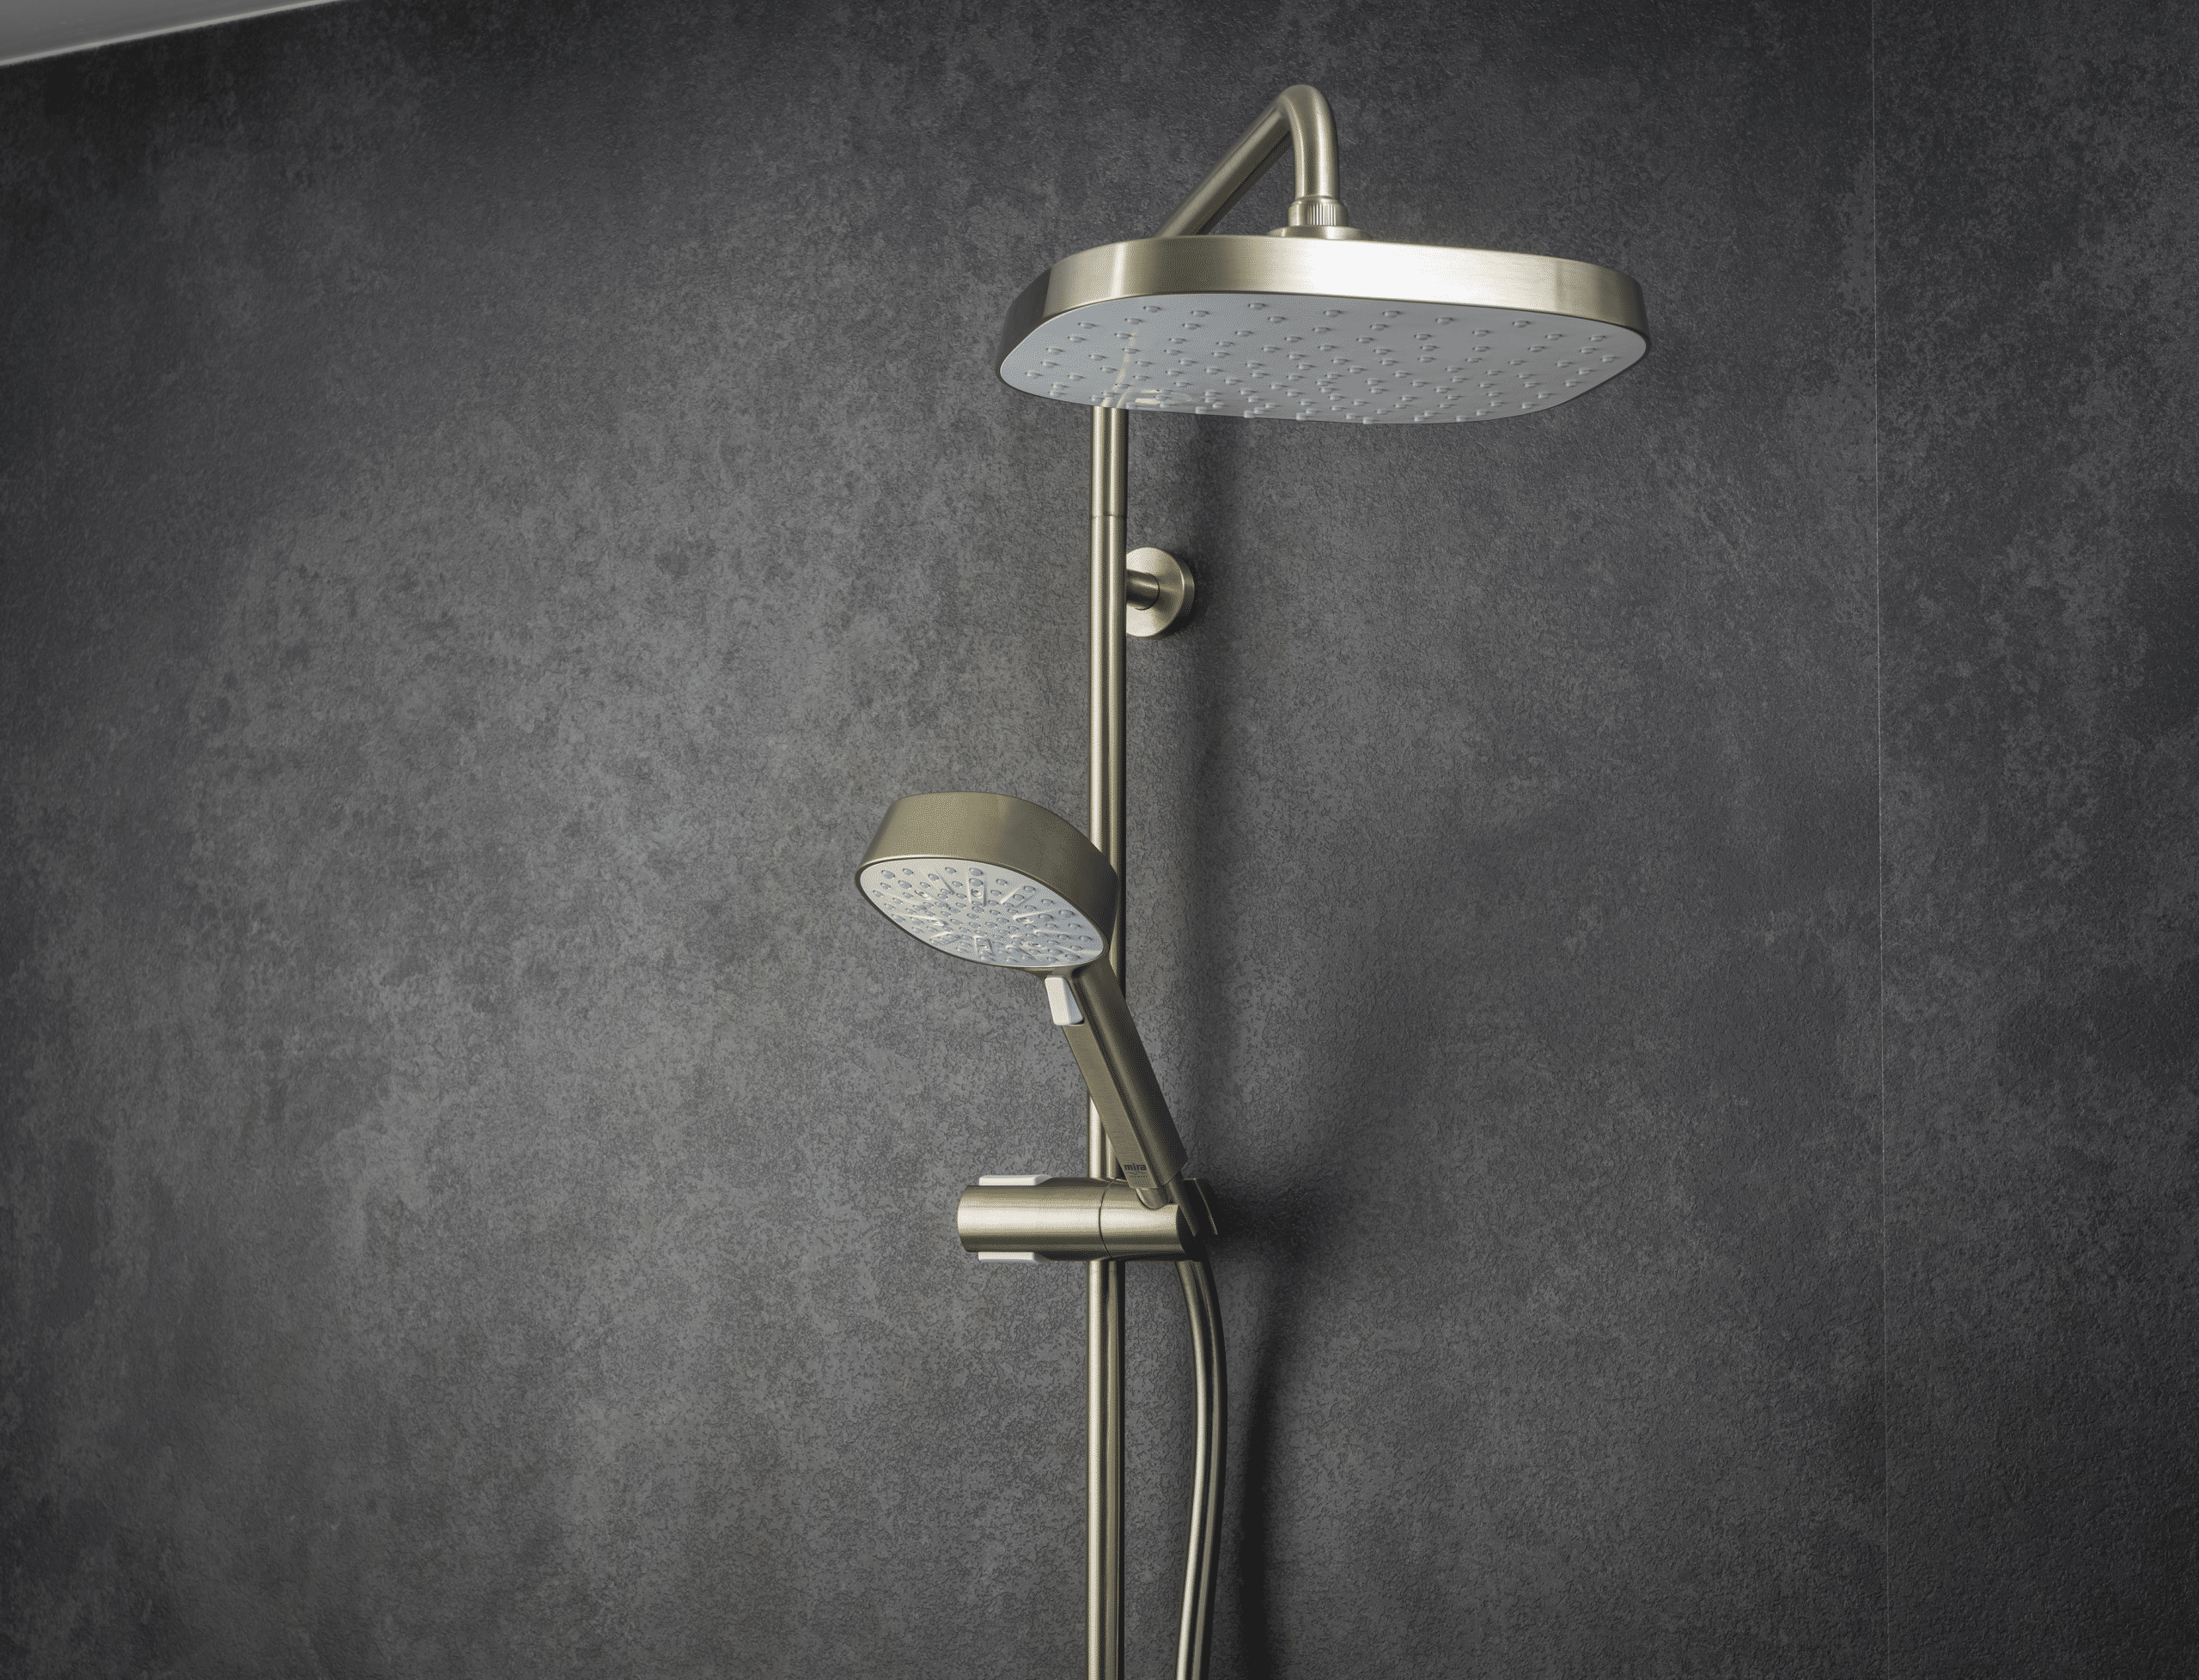
Install handheld shower system
PROBLEM AND THE SOLUTION:
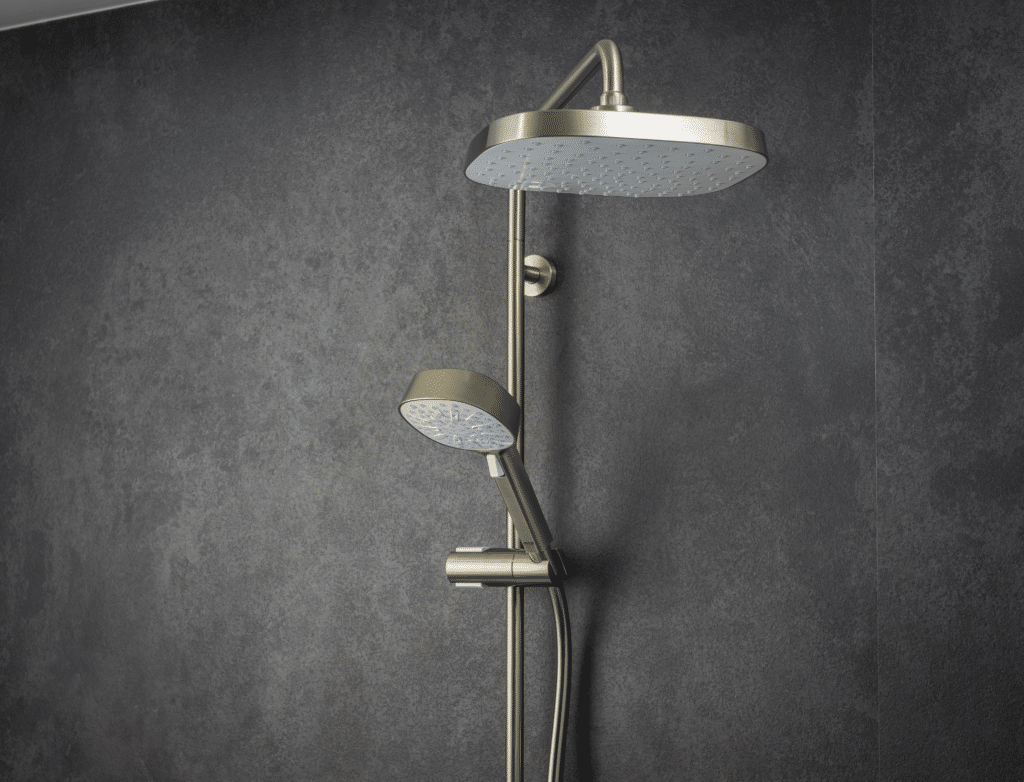
While it’s true that rain shower heads do give us a lot of relaxation, there’s a problem. It’s stuck in one place. Once you install a rain shower head, there’s no other way of using it for anything other than bathing yourself standing underneath. For instance, if you have a baby or a pet or anyone/anything that needs to be bathed, you couldn’t use the rain shower head for that purpose.
However, there is a solution. You can furnish your bathroom with the concept of dual shower head. For that, you just need to know how to install a handheld shower system.
While we’re on the topic, let’s briefly discuss that too, alright?
How to install a Handheld Shower System
If you’ve gained the confidence of installing the rain shower head by yourself, then you can do this too. Although to be honest with you, it will be a little bit more difficult than that. But hey, there’s nothing a man can’t do if he really wants to do it. So let’s get into the brief instruction manual.
There are several ways of installing a rain shower head. But in this brief note, we’re going to explain how to install a handheld shower system using a standard fitting. In addition to the aforementioned tools, you’re going to need-
- Your handheld shower head kit
- Hex Keys
- Drills and bits (probably)
- Standard Fitting
Step 1 – Connect the base
It can be done by removing the old shower head and attaching the base of this handheld shower head there. Since you already have that one occupied, you have to make another base for the handheld shower head. Remember I told you this might not be as easy as the rain shower head? This is where it gets tricky. You may have to use some more hardware. But with the standard fittings, you can create a base for the handheld shower system.
Step 2 – Attaching the hose
Now add enough thread seal tape on both the standard fitting and the head of the hose that you’re going to attach. Attach the hose and tighten it with your wrench. Don’t just hand-tighten this one. It needs to be firmly tightened. Since almost all the handheld showerheads are pre-attached with the hose so your work is pretty much done here. Now turn on the water flow to check if there’s any leakage from the hose. If there is even a little leakage, open it up and add more thread seal tape. If not, then move towards the final step.
Step 3 – Mounting the wall bracket
Since this is a dual setup for you, there should be a bracket mounted on the wall to hold the handheld shower system. A lot of handheld shower system comes with the wall bracket. Now, this procedure needs to be done carefully as it needs a little bit of drilling on your wall.
Cheer to a wonderful bathtime!
And that’s it. Now you have both comfort and efficiency in your bathroom. Now take care of your bathroom just like it takes care of you. Keep everything clean. Save water. Live a long, happy, and healthy life. Ciao.
![How to Fix a Leaky Toilet [4 Ways To Fix]](https://bathroompicks.com/wp-content/uploads/2024/05/how-to-fix-leaky-toilet-base-4118501-15-96c7a41dddab48ff8597953fee26b510-768x512.jpg)